Table of Contents
Tips for Preparing Your Garden Tap for a Splitter Installation
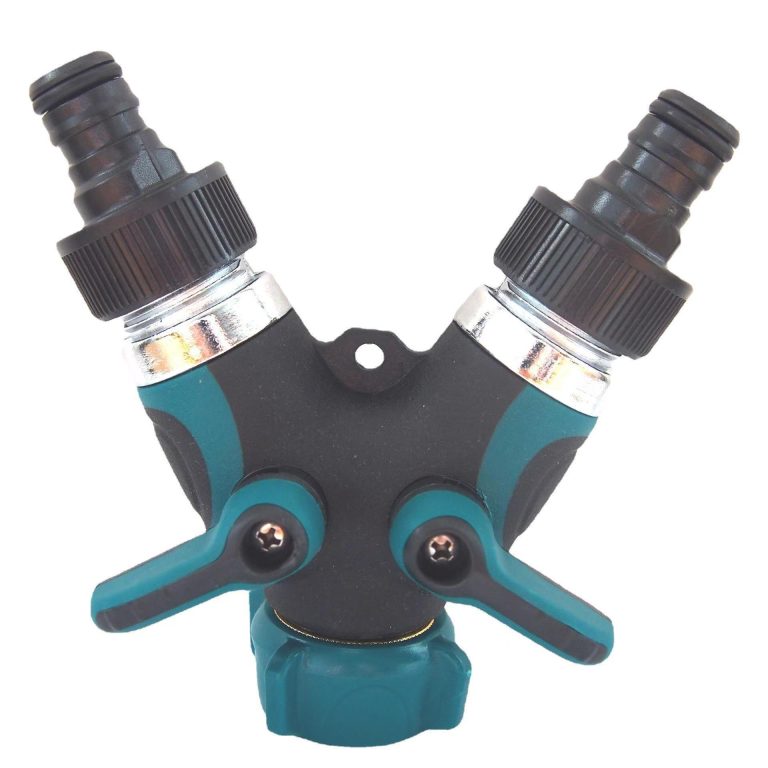
If you’re looking to expand your garden watering capabilities, installing a splitter on your garden tap is a great way to do so. A splitter allows you to connect multiple hoses or watering devices to a single tap, making it easier to water different areas of your garden without constantly switching hoses. However, before you can install a splitter, you’ll need to prepare your garden tap to ensure that it’s ready for the additional connections.
The first step in preparing your garden tap for a splitter installation is to make sure that it’s in good working condition. Check for any leaks or drips, as these can indicate that the tap may need to be repaired or replaced before installing a splitter. If you notice any issues with the tap, it’s best to address them before proceeding with the installation.
Once you’ve confirmed that your garden tap is in good condition, the next step is to clean it thoroughly. Over time, garden taps can accumulate dirt, debris, and mineral deposits that can affect the performance of the tap and the splitter. Use a mild detergent and a soft brush to clean the tap, making sure to remove any buildup that may be present.
After cleaning the tap, it’s important to inspect the threads on the tap to ensure that they are in good condition. The threads are what will hold the splitter in place, so it’s crucial that they are clean and undamaged. If you notice any damage to the threads, you may need to replace the tap or have it repaired before proceeding with the installation.
Once you’ve confirmed that the tap is clean and in good condition, the next step is to turn off the water supply to the tap. This will prevent any water from flowing while you’re installing the splitter, making the process easier and less messy. You can usually turn off the water supply by locating the shut-off valve near the tap and turning it to the off position.
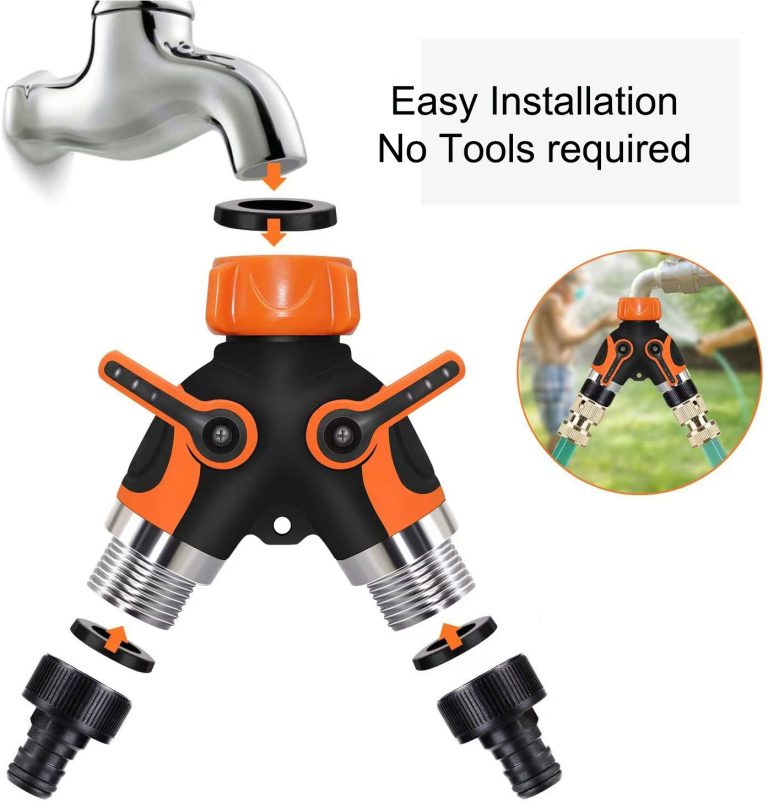
With the water supply turned off, you can now begin the installation process. Start by attaching the splitter to the tap, making sure to tighten it securely to prevent any leaks. You may need to use a wrench to tighten the splitter properly, but be careful not to overtighten it, as this can damage the threads on the tap.
Once the splitter is securely attached to the tap, you can then connect your hoses or watering devices to the splitter. Make sure to use high-quality connectors and hoses to prevent leaks and ensure a secure connection. Once everything is connected, you can turn the water supply back on and test the splitter to make sure that it’s working properly.
In conclusion, preparing your garden tap for a splitter installation is an important step in expanding your garden watering capabilities. By ensuring that your tap is in good condition, clean, and properly connected, you can make the installation process smoother and more successful. With a little preparation and care, you can enjoy the convenience of a splitter in your garden tap for years to come.
Top Chinese Best Exporters for Garden Tap Splitters
Garden tap splitters are a convenient tool for any gardener looking to maximize their outdoor water usage. By installing a splitter on your garden tap, you can easily connect multiple hoses or watering devices, allowing you to water different areas of your garden simultaneously. However, before you can start enjoying the benefits of a garden tap splitter, you need to properly prepare your garden tap for installation.
The first step in preparing your garden tap for a splitter installation is to gather the necessary tools and materials. You will need a pair of pliers, an adjustable wrench, Teflon tape, and the garden tap splitter itself. Make sure to choose a high-quality splitter that is compatible with your garden tap to ensure a secure and leak-free connection.
Once you have gathered all the necessary tools and materials, the next step is to shut off the water supply to the garden tap. This can usually be done by turning the shut-off valve located near the tap in a clockwise direction. Once the water supply is turned off, open the garden tap to release any remaining water in the line.
After the water supply has been shut off and the tap is drained, use the pliers to remove the existing hose or attachment from the garden tap. This may require some force, so be sure to grip the attachment securely to avoid damaging the tap. Once the attachment has been removed, use the adjustable wrench to loosen the nut connecting the tap to the water supply line.
With the nut loosened, carefully remove the garden tap from the water supply line. Inspect the threads on both the tap and the water supply line for any signs of damage or corrosion. If necessary, clean the threads with a wire brush to ensure a proper seal when installing the splitter.
Before installing the garden tap splitter, apply a few wraps of Teflon tape to the threads of the tap. This will help create a tight seal and prevent any leaks once the splitter is installed. Once the Teflon tape is in place, carefully screw the splitter onto the tap, making sure to tighten it securely with the adjustable wrench.
After the splitter is securely attached to the garden tap, it is important to test the connection for any leaks. Turn the water supply back on and check for any water dripping from the connection points. If you notice any leaks, tighten the connections further with the adjustable wrench until the leaks stop.
Once you have confirmed that the garden tap splitter is installed securely and without any leaks, you can begin connecting your hoses or watering devices to the splitter. Simply attach the hoses to the splitter’s outlets and turn on the water to start watering your garden efficiently and effectively.
In conclusion, preparing your garden tap for a splitter installation is a relatively simple process that can greatly enhance your gardening experience. By following these steps and using the right tools and materials, you can enjoy the convenience of a garden tap splitter and make watering your garden a breeze.

